ngrok vs. Expose: The Open-Source PHP Tunnel Built for Web Developers
IT
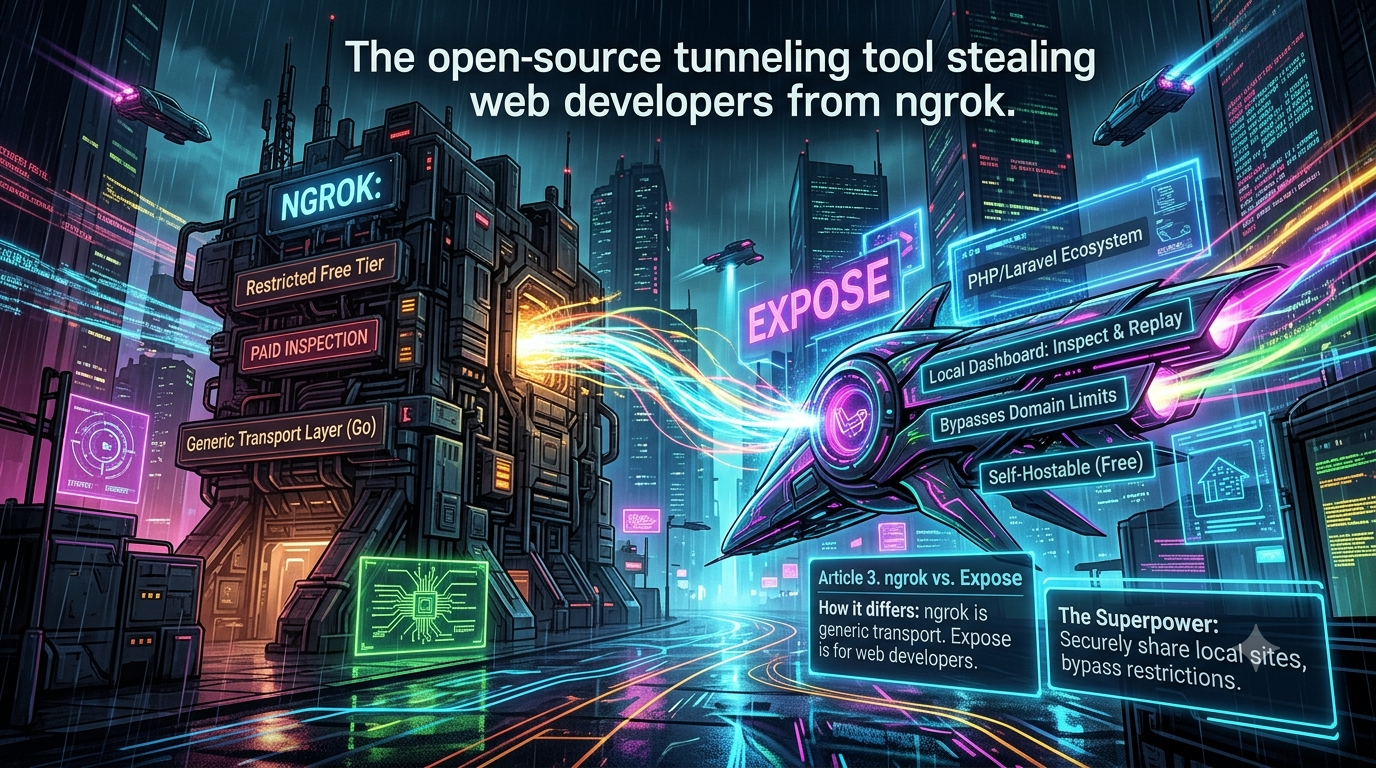
Current comparison
Looking for the main ngrok alternative guide?
We keep the latest ngrok alternative comparison, CLI commands, pricing notes, and webhook examples on one canonical page.
Open the InstaTunnel ngrok alternative guideQuick answer
ngrok vs Beyond Code's Expose: The Open-Source Tunnel : quick answer
If free tunnel limits interrupt your workflow, compare session length, stable URLs, concurrent tunnels, and paid-plan pricing before choosing a localhost tunnel tool.
What free tunnel limits should developers check first?
Check session duration, URL stability, concurrent tunnels, custom subdomains, bandwidth or request limits, and whether webhook callbacks survive restarts.
How does InstaTunnel handle longer development sessions?
InstaTunnel Free is designed around 24-hour sessions, with Pro available for higher limits and MCP endpoint tunnel workflows.
If you build APIs, wire up webhooks from Stripe, Shopify, or GitHub, or need to hand a client a working preview without deploying to staging, you’ve almost certainly reached for ngrok at some point. For over a decade it’s been the default answer to “how do I share my localhost?”
But ngrok’s product has changed shape. It has grown from a simple developer utility into a full ingress and API gateway platform, and its free tier reflects that shift. That’s opened space for narrower, developer-focused alternatives — one of the more established ones being Expose, an open-source PHP tunnel built by Beyond Code (the makers of Laravel Herd and Tinkerwell).
This piece compares the two tools as they actually stand today, not as they’re often described in older blog posts.
(Note: this is Expose by Beyond Code, not LocalXpose, a separate cross-protocol tunneling tool covered elsewhere on this site. Different products, similar-sounding names.)
Why local tunnels exist
A local server (http://localhost:8000) isn’t reachable from the internet — that’s the correct default. But it becomes a problem the moment you need:
- Webhooks: Stripe, GitHub, and similar services need a public URL to POST events to.
- Mobile testing: a phone or emulator needs a real endpoint to talk to your local backend.
- Client demos: showing work in progress without a deploy step.
Tunneling tools solve this by running a client on your machine that opens an outbound connection to a relay server. That server hands you a public URL and forwards traffic back down the tunnel to your local port.
ngrok: the incumbent
Created in 2013 by Alan Shreve and written in Go, ngrok is the tool most developers learned tunneling on. It has since repositioned itself as what its own marketing calls a “universal gateway” — offering Kubernetes ingress via its own operator, traffic policy rules (WAF, OAuth/OIDC, SAML), endpoint pooling for load balancing, and SOC 2/HIPAA compliance for enterprise customers. It supports HTTP, HTTPS, TCP, and (on paid plans) TLS traffic, which is why it’s still the right tool for tunneling something that isn’t a web server — an SSH session, a game server, a database port.
What the free tier actually restricts (and what it doesn’t)
ngrok’s current published limits for the free plan:
| Resource | Free tier limit |
|---|---|
| Online endpoints | Up to 3 |
| Data transfer out | 1 GB/month |
| HTTP/S requests | 20,000/month |
| TCP connections | 5,000/month (requires card verification to enable TCP at all) |
| TLS endpoints | Not available |
| Team members | 1 |
A few corrections to claims that circulate about the free tier:
- There is no 2-hour session timeout. ngrok’s own documentation states plainly that the free tier has no timeout on endpoints, and that you can run a tunnel indefinitely as a background service. This gets repeated as fact in a lot of comparison articles; it isn’t accurate as of ngrok’s current docs.
- The free-tier URL is not random on every restart. Every ngrok account — free included — gets one assigned “dev domain” (like
your-name.ngrok-free.app) that’s tied to the account, not regenerated per session. You can’t customize it or add your own domain on the free plan, but it doesn’t rotate the way older write-ups describe. - The interstitial warning page can be bypassed without upgrading. ngrok injects a security interstitial in front of HTML traffic on free-tier endpoints to deter phishing abuse. It doesn’t affect programmatic API/webhook traffic at all, and for browser traffic it can be skipped by sending an
ngrok-skip-browser-warningheader or a non-defaultUser-Agent— no paid plan required. Upgrading removes it entirely, but it’s not a hard blocker on the free plan the way it’s sometimes portrayed.
What genuinely is restrictive: 1 GB of monthly transfer and 20,000 requests disappear fast on anything with real traffic, and TCP tunnels need card verification even for free use.
Current paid pricing
ngrok simplified its plan names. As of now there’s no “Personal” tier — it’s Free, Hobbyist, Pay-as-you-go, and Enterprise:
- Hobbyist — $8/month billed annually ($10 month-to-month): 3 online endpoints, 5 GB data transfer included, 100,000 requests included, no interstitial, ngrok-branded domains.
- Pay-as-you-go — $20/month base (includes $20 of usage) plus metered overage: unlimited online endpoints, bring-your-own domain, unlimited team members (3 included).
- Enterprise — custom pricing, SSO/SCIM, HIPAA BAAs, dedicated support.
Expose: the PHP-native alternative
Expose is built by Marcel Pociot and the Beyond Code team (also behind Laravel Herd and Tinkerwell). Unlike ngrok, it’s written entirely in PHP and scoped deliberately to HTTP/HTTPS — it doesn’t do raw TCP or UDP, and it isn’t trying to be a Kubernetes ingress controller. It’s aimed at exactly the workflow this blog covers a lot of: local web dev, webhook testing, client previews.
It’s genuinely open source (MIT license, client and server both), which is the core differentiator from ngrok.
Installation
Current official installation methods, per Expose’s own docs:
Composer (global install):
composer global require exposedev/expose
Make sure your global Composer bin directory is on your PATH.
PHP Archive (PHAR), no Composer required:
curl https://github.com/exposedev/expose/raw/master/builds/expose -L --output expose
chmod +x expose
sudo mv expose /usr/local/bin/expose
One thing worth flagging clearly: Expose still requires a local PHP installation even when installed as the PHAR “binary” — Beyond Code’s own FAQ confirms this. If you’re not already running PHP for other reasons, that’s a real dependency ngrok’s single Go binary doesn’t have.
The project’s GitHub organization moved from beyondcode to exposedev; the older beyondcode/expose Composer package still exists and is updated, but the docs now point to exposedev/expose.
Authentication and sharing a site
expose token YOUR_TOKEN
expose share http://localhost:8000
If you have a Pro or Team account (or run your own server), you can request a fixed subdomain:
expose share http://localhost:8000 --subdomain=my-awesome-app
The dashboard
Expose ships a local web dashboard (http://127.0.0.1:4040, same convention as ngrok) for inspecting and replaying incoming HTTP requests. Expose 3, the current major version, added a few things worth knowing about if you haven’t looked at it recently:
- Replay with modification — you can now edit headers, the URI, or the payload before replaying a captured request, not just resend it as-is.
- Request Plugins — Expose can recognize specific webhook formats (GitHub and Paddle Billing ship built-in) and surface the relevant payload fields directly in the dashboard and CLI instead of making you dig through raw JSON.
- Vite detection — if you share a site while a Vite dev server is running, Expose now detects it and routes the Vite tunnel automatically, fixing a long-standing annoyance where hot-reloaded CSS/JS would silently break over a shared tunnel.
catch-allcommand — spins up a tunnel that returns200 OKto anything, useful for quickly inspecting a webhook payload without having an endpoint implemented yet.
Self-hosting vs. the managed free tier — an important distinction
This is where a lot of comparison write-ups oversimplify. “Expose is open source, so you get everything for free” isn’t quite right unless you’re self-hosting the server yourself.
Expose’s own free (“Hobby”) managed tier comes with real constraints, per Beyond Code’s docs: a single server location (their EU data center), randomized tunnel names on every connection, and a time limit per connection. That’s a meaningfully different deal from ngrok’s free tier, which gives you a stable per-account domain with no timeout.
Self-hosting the open-source server is genuinely free and removes those constraints — you control the domain, there’s no time limit, and you’re only bound by your own infrastructure’s bandwidth. But it does mean standing up and maintaining your own server (a basic VPS from a provider like Hetzner or DigitalOcean is enough for the job), which is a real ongoing responsibility, not a one-time setup.
Expose Pro and Team (the paid managed tiers) sit in between: persistent URLs, custom domains, reserved subdomains, and Beyond Code’s global server network, without you running anything yourself.
Current published pricing:
| Plan | Price | What you get |
|---|---|---|
| Hobby | Free | Single EU server, random tunnel names, connection time limit |
| Self-hosted | Free (your infra cost) | Full control, custom domain, no time limit, your bandwidth |
| Pro | $79/user/year | Persistent URLs, custom domains, reserved subdomains, global server network, no time limit |
| Team | $229/team/year | Everything in Pro, up to 10 users, priority support |
Laravel integration, corrected
A common claim is that Expose “replaced ngrok as the default” in Laravel Valet. That’s not accurate — Valet 4+ supports three interchangeable share tools (ngrok, expose, and cloudflared), selected explicitly via valet share-tool <tool>. ngrok remains Valet’s default unless you switch it.
Where Expose does have a tighter, more current integration is Laravel Herd, Beyond Code’s own modern local-dev environment (successor to Valet, available for macOS and Windows): Expose ships built into Herd, and you can set your Expose auth token directly from Herd’s settings UI rather than the CLI.
Feature comparison
| Feature | ngrok | Expose |
|---|---|---|
| Primary use case | Generic network ingress; enterprise API gateway | Web dev HTTP/HTTPS tunneling |
| Language / runtime | Go (single binary) | PHP (PHAR still requires local PHP) |
| Protocols | HTTP/S, TCP, TLS (paid) | HTTP, HTTPS only |
| Open source | No | Yes (MIT, client + server) |
| Free tier bandwidth/requests | 1 GB / 20,000 requests per month | Not capped by volume, but single server + time-limited connections |
| Free tier URL | One persistent dev domain per account | Random subdomain per connection |
| Webhook interstitial | Yes on free tier (bypassable via header without upgrading) | None |
| Request inspection | Local dashboard, replay | Local dashboard, replay with edits, webhook-aware Request Plugins |
| Custom domains | Paid plans only ($8–10/mo+) | Free if self-hosted, or Pro ($79/user/year) |
| Kubernetes / enterprise ingress | Yes (built-in operator, SSO/SCIM, HIPAA) | Not a target use case |
When each tool makes sense
Stick with ngrok if: - You need to tunnel something that isn’t HTTP — SSH, a database port, a game server, raw TCP/TLS. - You need Kubernetes ingress, SSO/SAML, or compliance paperwork (HIPAA BAAs, SOC 2 reports). - You’d rather not have PHP as a dependency on a machine that otherwise has none.
Consider Expose if: - Your work is HTTP/webhook-shaped and you’re already in a PHP/Laravel environment (Herd, Valet, Sail). - You want a genuinely free, unlimited setup and are willing to self-host the open-source server on your own VPS. - The webhook-aware dashboard (GitHub/Paddle payload detection, Vite auto-routing) fits how you actually debug integrations.
Neither tool has “won” here — they’re solving overlapping but distinct problems, and the honest comparison depends more on whether you need raw TCP/enterprise ingress (ngrok’s territory) or a lean, self-hostable HTTP tunnel with a PHP-native workflow (Expose’s territory).
Changelog
Corrections and additions made to the original draft, with sources:
- Removed the “2-hour session timeout” claim for ngrok’s free tier. ngrok’s Free Plan Limits documentation explicitly states the free tier has no endpoint timeouts and supports running as a background service indefinitely. (Source: ngrok docs, Free Plan Limits)
- Corrected the “random URL that changes on restart” claim. ngrok assigns one dev domain per account, not a new random one each session; this has been the case since ngrok’s domain changes around 2023. (Source: ngrok docs, Free Plan Limits — “Development domain… specific to your account”)
- Corrected the framing of the interstitial page as an unavoidable paid-upgrade issue. It can be bypassed on the free tier via the
ngrok-skip-browser-warningheader or a custom User-Agent, and doesn’t affect API/webhook traffic at all. (Source: ngrok docs, Free Plan Limits — “Removing the interstitial page”) - Updated ngrok plan names and pricing. Removed the outdated “Personal” tier name; current tiers are Free, Hobbyist ($8/mo annual, $10/mo monthly), Pay-as-you-go ($20/mo + usage), and Enterprise. (Source: ngrok.com/pricing)
- Corrected the Composer install command for Expose. Docs now specify
composer global require exposedev/expose(the project’s GitHub org moved frombeyondcodetoexposedev); added the PHAR-based install method as an alternative. (Source: expose.dev/docs/getting-started/installation) - Added the fact that Expose’s PHAR “binary” still requires a local PHP installation — it isn’t a fully standalone binary the way ngrok’s is. (Source: expose.dev FAQ)
- Corrected Expose’s pricing structure. Replaced the vague “flat subscription” description with actual current tiers: Hobby (free, restricted), Pro ($79/user/year), Team ($229/team/year, up to 10 users). (Source: expose.dev pricing page)
- Added an important caveat the original draft omitted: Expose’s own free “Hobby” managed tier has real restrictions — randomized tunnel names per connection, a connection time limit, and a single EU server. The “get everything for free” pitch only holds if you self-host the open-source server yourself. (Source: expose.dev/docs/getting-started/authentication)
- Corrected the Laravel Valet integration claim. Valet did not make Expose “the default,” replacing ngrok — Valet 4+ offers ngrok, Expose, and cloudflared as interchangeable, explicitly-selected share tools, with ngrok remaining the default. (Sources: laravel.com/docs Valet documentation; Laravel Valet 4.0 release notes)
- Replaced the Valet reference with Laravel Herd, Beyond Code’s own current local-dev environment, which has a more direct, built-in Expose integration (token configuration from the Herd settings UI). (Source: expose.dev/docs/getting-started/authentication)
- Added new, verified content on Expose 3.0, the current major version: the redesigned dashboard, replay-with-modification, webhook-aware Request Plugins (GitHub, Paddle Billing), automatic Vite tunnel detection, and the
catch-allcommand. (Source: expose.dev/docs/release-notes) - Removed unverifiable/soft claims from the original draft (e.g., an exact “$4/month VPS” figure for self-hosting) in favor of general, defensible language about typical low-cost VPS providers.
- Stripped SEO-style headline, meta-description language, and promotional framing (“stealing web developers from ngrok,” etc.) from the original draft.
Related InstaTunnel pages
Continue from this article into the most relevant product guides and workflows.


Comments
Post a Comment