The Terminal QR Code Mobile Handoff: How to Test Local Dev Server on iPhone and Android Seamlessly
IT
Quick answer
Test Localhost on Mobile: Terminal QR Code Handoff | Pinggy: quick comparison answer
Choose the tunnel tool based on the network model: public HTTPS URLs for webhooks and demos, private mesh access for internal apps, and managed infrastructure when policy controls matter most.
Which tunnel tool is best for public webhook testing?
Use a public HTTPS localhost tunnel with stable URLs. InstaTunnel focuses on webhook testing, demos, OAuth callbacks, and MCP endpoint workflows.
When should I choose a private network tool instead?
Choose a private mesh or Zero Trust tool when every user and service should stay inside a controlled private network.
The Endless Friction of Responsive Testing Localhost
Picture this: You have just spent two hours perfectly aligning a complex CSS Grid layout. It looks stunning on your ultra-wide monitor, and the Chrome DevTools mobile toggle shows that it scales down beautifully. However, as any seasoned frontend developer knows, the browser simulator is only half the battle.
To ensure a flawless user experience, you need to test the application on a real, physical device. You need to verify how iOS Safari handles the 100dvh property, whether the bottom navigation bar hides your call-to-action buttons, or how touch targets feel under a real human thumb.
So, what is the traditional workflow to test local dev server on iPhone or Android?
- You start up a tunneling service to expose your localhost to the internet.
- The CLI spits out a random, cryptographically secure, and completely un-typable URL like
https://a92b-192-168-1-5.ngrok-free.app. - You highlight the URL in your terminal.
- You copy it.
- You open Slack, Discord, Apple Notes, or WhatsApp.
- You paste the URL and send it to yourself.
- You pick up your phone, open the messaging app, click the link, and finally wait for the page to load.
Every time you restart the tunnel, this tedious cycle repeats. This friction creates a barrier to frequent testing, leading developers to rely too heavily on desktop simulators and delaying real-device testing until the very end of a sprint—when bugs are harder and more expensive to fix.
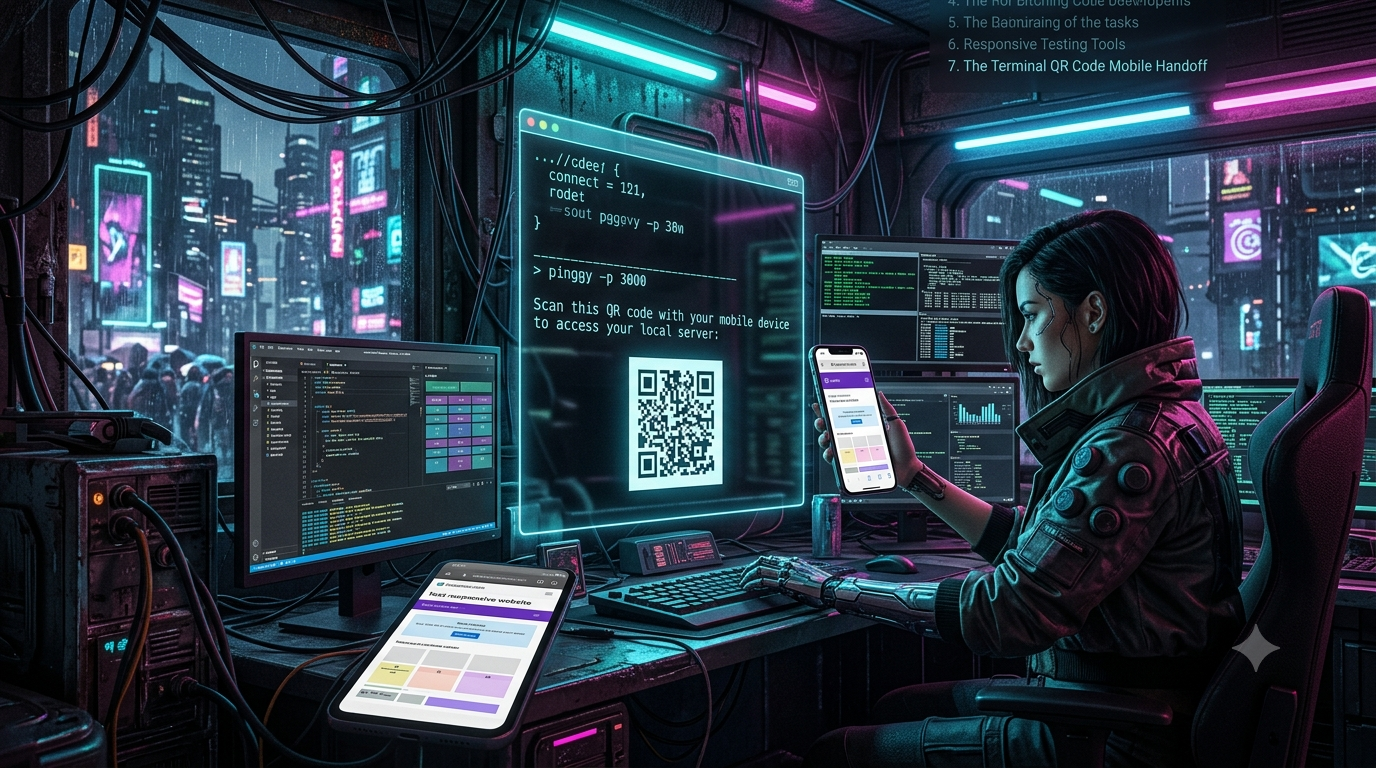
This is exactly where the terminal QR code mobile handoff shines.
Enter the Localhost QR Code Terminal Handoff
Instead of treating the desktop and the mobile device as completely separate silos that require a third-party messaging app to bridge, what if we use the hardware that’s already built into our phones?
Modern smartphones have incredible native QR code scanning capabilities built directly into their default camera apps. If your terminal could simply output a QR code corresponding to your live tunnel URL, the workflow would instantly collapse from a seven-step chore into a two-second fluid motion:
- Run the tunnel command.
- Point your phone at the screen.
The concept of a localhost QR code terminal is not just a gimmick; it is a profound workflow optimization. It drastically lowers the barrier to entry for cross-device testing, encouraging developers to interact with their interfaces natively throughout the entire development lifecycle.
While you could theoretically hack this together using npm install -g qrcode-terminal and pipe your tunnel URLs into it, modern tooling has evolved to make this seamless out of the box.
Pinggy: Three Ways to Print a QR Code in Your Terminal
When searching for the optimal way to test your dev environment on a mobile device, Pinggy emerges as one of the most elegant solutions on the market.
Pinggy is a localhost tunneling service. Its baseline path requires absolutely no software installation — it leverages the SSH client already installed on Windows, macOS, and Linux out of the box, so a single SSH command exposes your local port and hands back a public URL. Pinggy also now ships an installable CLI (more on that below) for people who run this workflow often enough to want a background daemon and saved configs, but the zero-install SSH path still works exactly as before.
The true magic for this article, though, is Pinggy’s Terminal User Interface (TUI) and its built-in QR code generator: Pinggy natively renders ASCII and Unicode QR codes directly in your terminal window with no external dependencies.
How to Generate a Pinggy QR Code in the Terminal
Let’s dive into the practical application. Suppose you are running a React, Vue, or Next.js application on localhost:3000. Here are three ways to execute the terminal QR code mobile handoff using Pinggy.
Method 1: The Interactive TUI Mode
- Ensure your local development server is running (e.g.,
npm run dev). - Open a new terminal window.
- Run the standard Pinggy tunnel command:
bash ssh -p 443 -R0:localhost:3000 free.pinggy.io4. Once connected, Pinggy presents a rich Terminal User Interface. 5. To generate the QR code interactively, simply press theckey or theukey on your keyboard: - Presscto display the QR Code in ASCII format. This uses standard characters and is highly compatible with older or strictly formatted terminals, though it takes up more vertical space. - Pressuto display the QR Code in Unicode format. This creates a much denser, compact QR code that easily fits into standard 80x25 terminal windows, provided your terminal emulator supports the Unicode character set (most modern terminals like iTerm2, Windows Terminal, and GNOME Terminal do). 6. If more than one URL is active (for example, separate HTTP and HTTPS links), use the arrow keys to cycle between them and their corresponding QR codes. 7. Point your iPhone camera at the screen, tap the URL notification, and you are instantly testing your local server on your phone. 8. PressEscto hide the QR code and return to the live request logs. #### Method 2: The Direct QR Tag (Best for Muscle Memory) If you know you want to test local dev server on iPhone immediately, you can bypass the interactive menu entirely by passing a special username to the Pinggy SSH command. Pinggy supports the keywordsqrandaqrduring tunnel creation: - For a compact Unicode QR Code:bash ssh -p 443 -R0:localhost:3000 qr@free.pinggy.io
- For an ASCII QR Code:
bash ssh -p 443 -R0:localhost:3000 aqr@free.pinggy.ioIf you are a Pinggy Pro user and need to pass your access token alongside the QR request to maintain a persistent URL, append it with the+symbol:bash ssh -p 443 -R0:localhost:3000 your_token+qr@pro.pinggy.io
This single-line command is the holy grail of responsive testing localhost. You paste it, hit enter, and immediately lift your phone to scan the screen. The handoff is completely frictionless.
Method 3: The Pinggy CLI (For Daily Use)
If you’re going to run this tunnel dozens of times a week, Pinggy also publishes an npm-installable CLI that wraps the same underlying tunnel in a proper background daemon — automatic reconnects, named configs you can restart with one word, and log files you can tail. Install it once:
npm install -g pinggy
Then start the same QR-code tunnel with slightly friendlier flags:
pinggy -l 3000 qr@free.pinggy.io
Because the CLI accepts the same user@domain and command-line-option syntax as raw SSH, every trick in this article — qr, aqr, the security flags further down, the debugger flag — works identically. The difference shows up after you close the terminal: pinggy -l 3000 --b detaches the tunnel into the background and hands your terminal back immediately, pinggy ps lists everything currently running across all your projects, and pinggy config save mobile-test -l 3000 qr@free.pinggy.io turns the whole command into a name you can restart later with just pinggy start mobile-test.
Why You MUST Test Local Dev Server on iPhone (Real Devices vs. Emulators)
You might be wondering if setting up this localhost QR code terminal workflow is worth the effort compared to just resizing your browser window or using Chrome DevTools Device Mode. The resounding answer is yes.
While browser-based emulators are fantastic for rapid visual approximations, they fundamentally fail to simulate the true physical and software environment of a mobile device. Here is why executing the terminal QR code mobile handoff is essential for modern web development:
1. The Mobile Safari Viewport Anomalies
Apple’s iOS Safari is notorious for its UI quirks. The address bar shrinks and expands as the user scrolls, and the bottom toolbar dynamically appears and disappears. For years, using standard viewport units like 100vh on mobile Safari resulted in content being cut off because the browser included the UI chrome in its viewport calculation. While newer units like 100dvh (Dynamic Viewport Height) solve this, they can behave inconsistently across different OS versions. By scanning a Pinggy QR code, you can immediately swipe up and down on your physical iPhone to see exactly how your layout reacts to the shifting UI chrome.
2. Touch vs. Click Mechanisms
Hover states (:hover) do not exist on touch devices in the same way they do on a desktop with a mouse. Often, an element that requires a hover state to reveal a menu will require a double-tap on mobile. Furthermore, touch targets that look large enough on a desktop simulator might actually be too small and cause “fat-finger” errors on a physical screen. Testing responsive designs locally requires real tactile feedback.
3. Notches, Bezels, and the Dynamic Island
Modern iPhones feature physical hardware cutouts (the notch or the Dynamic Island). If your web app uses a full-screen layout, immersive video, or custom top-navigation padding (using safe-area-inset CSS variables), you absolutely cannot accurately test this without pushing the local build to a physical device.
4. Performance and Memory Constraints
Your M-series MacBook Pro has gigabytes of RAM and immense processing power. A three-year-old mid-range Android phone or an older iPhone does not. Heavy JavaScript bundles, unoptimized WebGL animations, and complex CSS transitions might run at a buttery smooth 60fps on your desktop emulator while turning into a stuttering mess on a real mobile device. Scanning the terminal QR code allows you to instantly profile the real-world performance of your unminified local development build.
Advanced Responsive Testing Localhost with Pinggy
Once you have mastered the terminal QR code handoff, you can take advantage of the broader ecosystem of features that tunneling tools like Pinggy offer to streamline mobile development.
Live Web Debugger
When you scan the QR code and test your app on your iPhone, you might encounter a bug that only happens on mobile. Since the browser on your phone doesn’t have the desktop DevTools easily accessible (unless tethered via a cable), debugging network requests can be a nightmare.
Pinggy addresses this with a Web Debugger that captures live HTTP traffic passing through the tunnel — but it isn’t switched on by default. You have two ways to reach it. The simplest is through the Pinggy dashboard: start a tunnel with your access token, open the Active Tunnels page, and click the debug icon next to the running tunnel to see live requests, connection stats, and full header/body inspection, with the option to replay or modify any request. If you’d rather keep everything local and skip signing in, forward the debugger to a local port when you start the tunnel:
ssh -p 443 -R0:localhost:3000 -L4300:localhost:4300 free.pinggy.io
Then open http://localhost:4300 in your browser (you can map it to a different local port if 4300 is taken). Either way, as you tap around your app on your iPhone, requests and responses stream in on the debugger in real time — headers, payloads, and status codes included.
One Extra Tap on the First Scan
Worth knowing before you demo this to anyone: the first time a free-tier tunnel URL is opened in a mobile browser, Pinggy shows a one-time screening page asking the visitor to confirm they want to continue through the tunnel — a security measure so nobody stumbles onto tunneled content without realizing it’s proxied. You’ll only see it once per browser, it doesn’t affect curl or webhook requests, and it doesn’t appear at all on Pro tunnels. For a normal Safari or Chrome scan, it’s just one extra tap the first time.
Live Request Logs in the Terminal
Because Pinggy operates as a TUI inside your terminal, even if you close the QR code (by pressing Esc), you are left with a real-time log of incoming requests. You can see immediately if your mobile device is requesting missing assets (404s) or if API calls are failing (500s).
Bypassing Local Network Limitations
Why not just connect the phone to the same Wi-Fi network and type in http://192.168.1.5:3000? 1. Typing IP addresses is still friction. 2. Corporate Network Restrictions: Many developers work on enterprise networks, zero-trust architectures, or public Wi-Fi where AP Isolation (Client Isolation) is enabled. In these environments, devices on the same Wi-Fi cannot talk to each other. 3. HTTPS Requirements: Many modern web features (like Geolocation, WebAuthn, camera access, and service workers) strictly require a secure HTTPS context. Accessing a local IP address over HTTP will block these APIs. Pinggy provisions a secure HTTPS URL automatically, bypassing all of these roadblocks.
Setting Up Your Development Environment for Seamless Mobile Testing
To fully integrate the terminal QR code mobile handoff into your daily workflow, consider creating a custom script or terminal alias.
If you use zsh or bash, you can add a simple alias to your .zshrc or .bashrc file.
# Alias to quickly expose a port and show a QR code
# Usage: tunnel 3000
tunnel() {
  ssh -p 443 -R0:localhost:$1 qr@free.pinggy.io
}
Now, the next time you boot up your frontend application, all you have to type is:
tunnel 5173
Your terminal will instantly clear, establish the secure connection, and print a beautifully formatted Unicode QR code directly to the screen. You grab your iPhone, scan it, and within three seconds, you are performing comprehensive UX testing on a physical device.
If you’d rather not maintain a shell alias, the Pinggy CLI’s pinggy config save command (Method 3, above) accomplishes the same thing as a named, restartable config instead — worth considering if you juggle several projects with different ports.
Enhancing the Workflow: Security and Persistence
When discussing the concept of exposing localhost to the public internet, security must be addressed.
Using Pinggy via SSH is inherently secure, as it relies on the robust SSH protocol. The random URLs generated for free tunnels are difficult to guess in the time they are active. However, if you are working on highly confidential, pre-release designs, Pinggy provides access-control options you can pass as extra arguments on the same command:
- Basic Authentication (username and password), using
b:username:password - Bearer-token authentication, using
k:yourkey
ssh -p 443 -R0:localhost:3000 -t qr@free.pinggy.io b:admin:secretpass
Note the -t flag: it’s required whenever you pass one of these extra options, so SSH still allocates the interactive terminal the QR/TUI display depends on. With this in place, even someone who intercepts your QR code hits a login prompt instead of your work-in-progress layout.
For long-running projects, Pinggy Pro also offers persistent subdomains instead of a fresh random URL — something like rnskg-21-24-129-38.run.pinggy-free.link — every time your laptop goes to sleep. On Pro, you assign a persistent domain to your access token from the Pinggy dashboard, then start every tunnel with that token:
ssh -p 443 -R0:localhost:3000 your_token@pro.pinggy.io
Every tunnel started with that token gets the same URL, and therefore the same QR code. Print it out and stick it to your monitor if you like — it will keep routing back to whatever’s running on your local port.
For AI Coding Agents, Too
If you’re driving this workflow from an AI coding agent rather than typing the commands yourself, Pinggy publishes both an installable skill (npx skills add https://pinggy.io) and an MCP server for tools like Claude Code and Cursor. Either lets the agent start, inspect, and tear down tunnels — QR-code ones included — as part of its own workflow, rather than you relaying commands back and forth.
Conclusion
The shift from desktop-only development to mobile-first user experience requires tools that eliminate the friction between platforms. The tedious process of copy-pasting local network IPs or randomized tunnel URLs into Slack just to check a CSS media query is an outdated relic of the past.
By embracing the terminal QR code mobile handoff, developers can seamlessly bridge the gap. Utilizing tools like Pinggy allows for instant generation of a localhost QR code terminal display. Whether you’re using the qr username for a compact Unicode scan, the interactive TUI to toggle views, or the newer CLI for a workflow you’ll reuse daily, the ability to effortlessly test local dev server on iPhone or Android transforms responsive testing localhost from a dreaded final step into a fluid, continuous part of the development lifecycle.
Stop messaging yourself links. Run your server, print the QR code, scan, and build better mobile experiences natively.
Frequently Asked Questions (FAQs)
1. What is the easiest way to test a local dev server on an iPhone? The easiest way is to use a localhost tunneling tool like Pinggy that generates a terminal QR code. By running ssh -p 443 -R0:localhost:3000 qr@free.pinggy.io, you get a QR code in your terminal that you can scan with your iPhone camera to instantly view your local server.
2. How do I get a Pinggy QR code to show up in my terminal? You have three options. You can start a standard Pinggy tunnel and press the c (ASCII) or u (Unicode) keys to pull up the QR code. You can use the usernames qr@free.pinggy.io or aqr@free.pinggy.io in your initial SSH command to force the QR code to display automatically. Or, if you install the Pinggy CLI (npm install -g pinggy), the same qr/aqr keywords work with the CLI’s own flag syntax.
3. Why can’t I just use my local IP address (e.g., 192.168.x.x) for responsive testing localhost? While you can use a local IP if both devices are on the exact same network without client isolation, it presents challenges. It requires typing a clunky IP, it doesn’t provide the HTTPS encryption required for testing features like geolocation or camera access, and it fails completely if you are on corporate or public Wi-Fi networks.
4. Does the localhost QR code terminal work on Windows? Yes. Windows 10 and Windows 11 include a native OpenSSH client. You can open Command Prompt, PowerShell, or Windows Terminal and run the exact same Pinggy SSH command to generate the QR code. Ensure your terminal supports Unicode for the most compact QR display.
5. Are Pinggy tunnels secure for testing proprietary code? Yes. The tunnels use the secure SSH protocol, and free-tier URLs are randomized and difficult to guess. For added security, Pinggy lets you append b:username:password for HTTP Basic Authentication or k:yourkey for bearer-token authentication directly to your tunnel command (remember the -t flag), so only you can access the dev server even if someone else has the link.
Related InstaTunnel pages
Continue from this article into the most relevant product guides and workflows.


Comments
Post a Comment